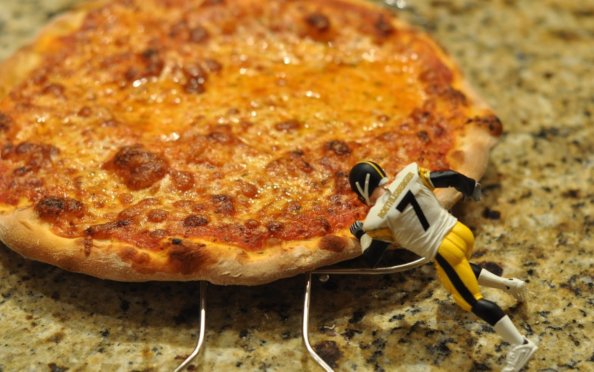
While the great City of New York boasts countless amazing restaurants and many diverse types of cuisine, the thin-crust pizza is ubiquitous there. From Famous Ray’s (not to be confused with (regular) Ray’s or Ray’s Original) to Lombardi’s to Grimaldi’s — with multiple locations of each throughout the city — it seems like you can get a decent slice on just about any block. So when the Steelers took on the New York Giants this week, homemade thin-crust pizza seemed like a natural choice for the Steeler Opponent-City Challenge. We’ve made homemade pizza dough before, but decided to consult our trusted source, Cook’s Illustrated, for a thin-crust pizza recipe that covered both the dough and the sauce. Although it wasn’t perfect (we might let the dough chill in the fridge for 2 days instead of 1 next time), the pizza was delicious and comparable to some we’ve had in NYC, so we consider it a win. The Steelers also won this week, bringing the S.O.C.C. record to: Steelers 5-3, Foodie Lawyer 7-1. It was far from a hollow victory — the Steelers battled the reigning Super Bowl champs, at the Giants’ home stadium, against several arguably unfair (so Dan tells me) referee calls and yet still won — but we nonetheless celebrate the win in a most humble and respectful way, mindful of Hurricane Sandy’s aftermath in New York and New Jersey. The people who have been affected will surely rally, rebuild their lives and recoup their losses, but it won’t be an easy or quick process (help if you can.) As much as we recognize and sympathize with the devastation, we believe in the resilience of the collective human spirit and in hope for new beginnings. And it is heart-warming to hear all the stories of people helping out so far — from the $23 million raised during the concert telethon, to the marathon runners putting their time to good use helping out in hard-hit Staten Island after the marathon was cancelled, to countless volunteers just showing up and asking what they can do to help. Even the Steelers did their part — flying in the morning of the game and foregoing hotel rooms for themselves so that rooms would be available for displaced New Yorkers in need. The Steelers may have beaten the Giants this week, but humanity wins overall when so many people — strangers, friends and family members alike — come together to take care of each other in the face of disaster. Well done.
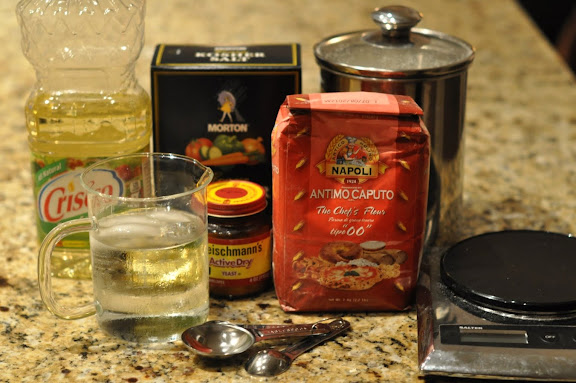
This homemade dough requires some extra planning — the dough has to rise for at least 24 hours or up to 3 days before you make the pizza. Assemble the ingredients: 3 cups (16 1/2 ounces) bread flour (plus extra for working the dough later); 2 teaspoons sugar; 1 1/2 teaspoons salt; 1/2 teaspoon instant or rapid-rise yeast; 1 teaspoon vegetable or canola oil (plus extra for keeping the dough moist); and 1 1/3 cups (10 1/2 ounces) ice water. Cook’s Illustrated specifically recommends using ice water, in order to prevent the dough from getting too warm while kneading it in the food processor. Measure out 1 1/3 cups of cold water, add some ice, let the water chill for a bit to get really cold, then remove the ice and any excess water just prior to adding the water to the dough.
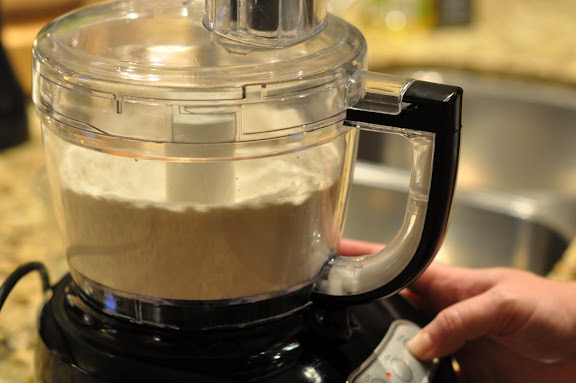
Add the flour, sugar and yeast to the food processor and pulse until the ingredients are combined — about 2-4 seconds.
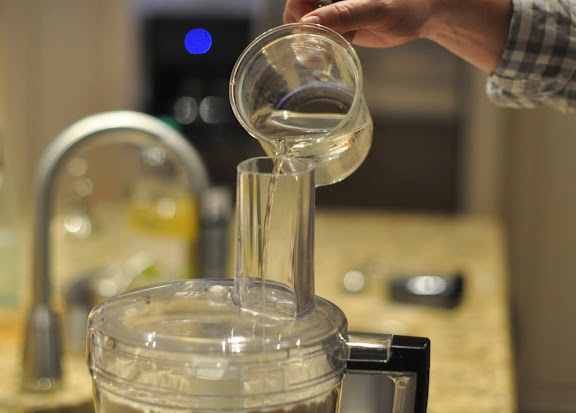
While the food processor is running, slowly pour the water through the top of the machine and continue processing until the dough is combined and no dry flour remains. Let the dough sit for about 10 minutes.
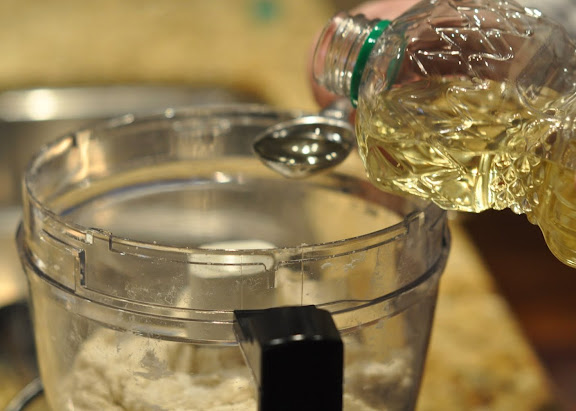
Add the oil and salt to the dough…
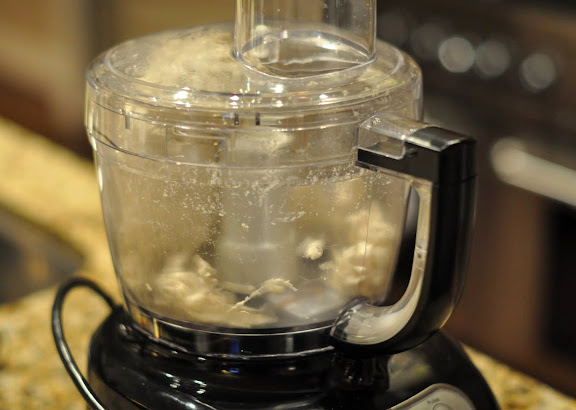
…then pulse until the dough forms a ball that clears the sides of the food processor — about 30-60 seconds.

Pour a little bit of vegetable or canola oil directly onto the counter, then lightly knead the dough on the counter until the dough is smooth — about 1-2 minutes.
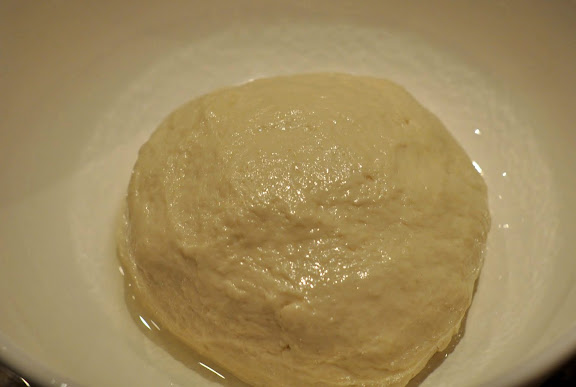
Shape the dough into a ball, place it in a lightly oiled bowl (large enough to allow the dough to expand as it rises), then cover the bowl with plastic wrap and place it in the refrigerator for at least 24 hours or up to 3 days. The folks at Cook’s Illustrated explain that refrigerating the dough as it rises reduces the size of the air bubbles in the dough as it ferments (or “proofs”), making for a thinner and more flavorful crust.
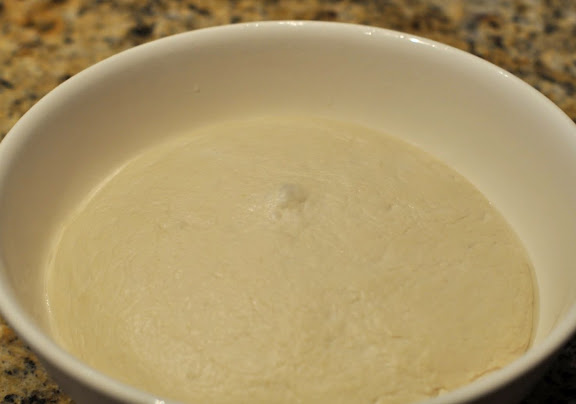
Behold, the dough has risen.
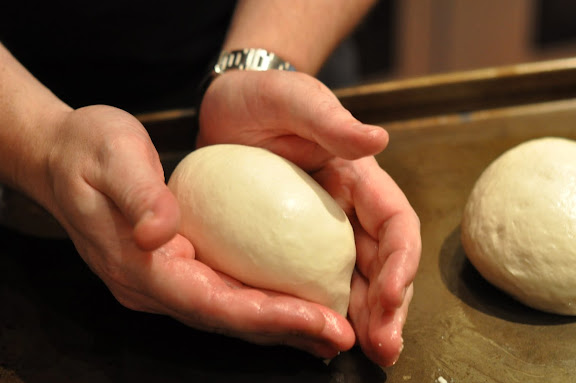
Divide the dough in half, place the dough on a lightly oiled cookie sheet, then shape each half into a ball by cupping and rotating the dough in your palms until it is smooth and rounded.
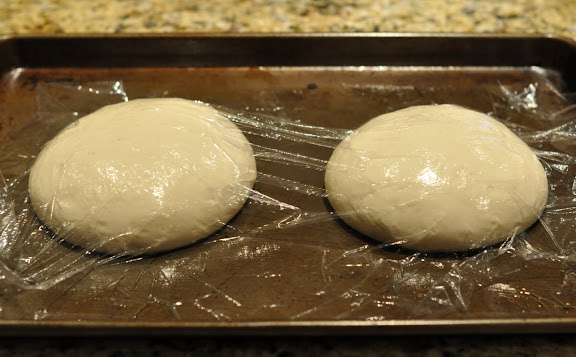
Lightly cover the dough with a sheet of plastic wrap coated with nonstick spray and let it sit at room temperature for about an hour. Now is a good time to start preheating the oven and pizza stone to 500 degrees. If you don’t have a pizza stone (put one on your Christmas list!), use an overturned cookie sheet, also preheated.
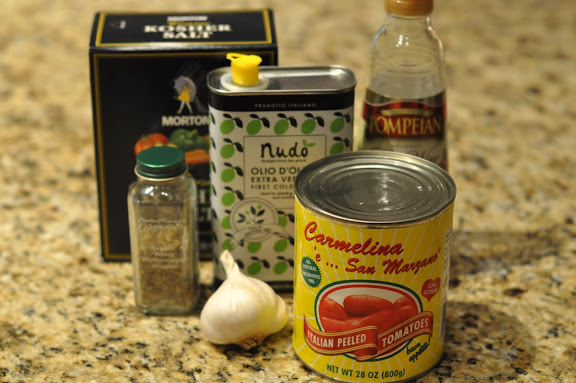
The pizza sauce recipe is surprisingly delicious, given how easy it is to make with a few simple ingredients: 1 (28 oz) can whole peeled tomatoes, drained (San Marzano really are the best); 1 tablespoon olive oil; 1 teaspoon red wine vinegar; 2 garlic cloves, minced; 1 teaspoon salt; 1 teaspoon dried oregano; and 1/4 teaspoon ground black pepper.
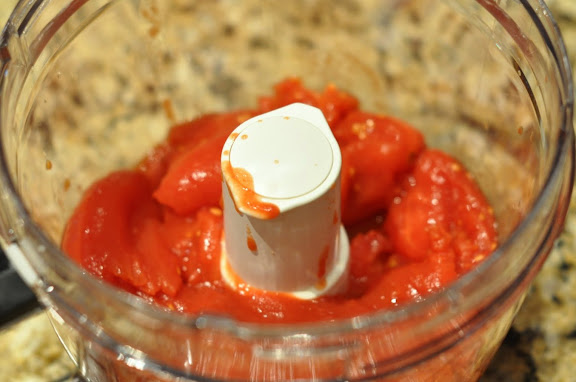
Although not mandatory, it’s easy to de-seed the tomatoes by running a finger along the inside where you can see the seeds and pushing them out into the sink. Place the whole tomatoes (without their juices) in the food processor and add the remaining sauce ingredients.
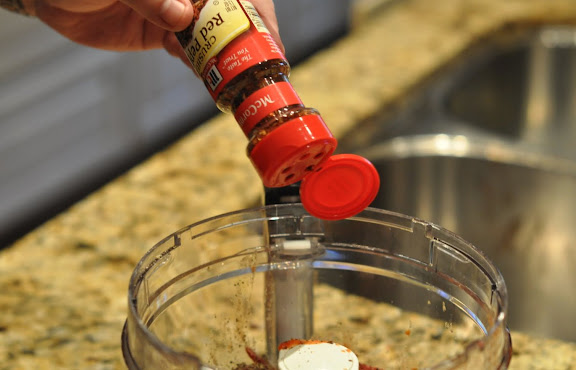
We like our sauce a little bit spicy, so we added a dash or 2 of red pepper flakes.
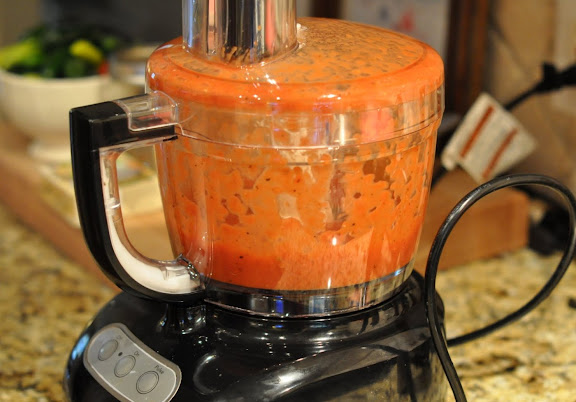
Pulse the sauce ingredients until smooth — about 30-40 seconds. And voilí , the sauce is done! No cooking required. The hardest part about making this sauce is lugging the food processor out to the counter. That is my kind of cooking.
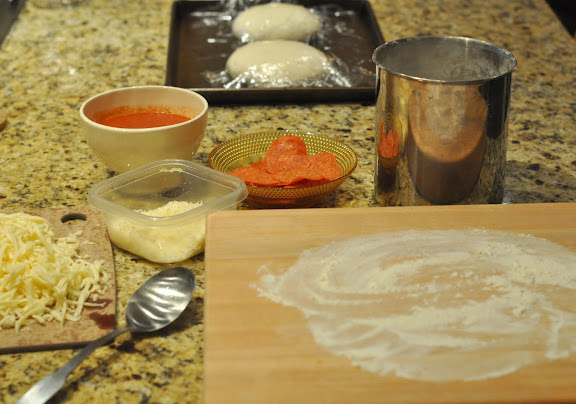
Assemble the pizza-building components: floured cutting board (or countertop) for the dough (and extra flour); dough; sauce and toppings. We kept it simple, with a basic pepperoni pizza and a plain cheese pizza.
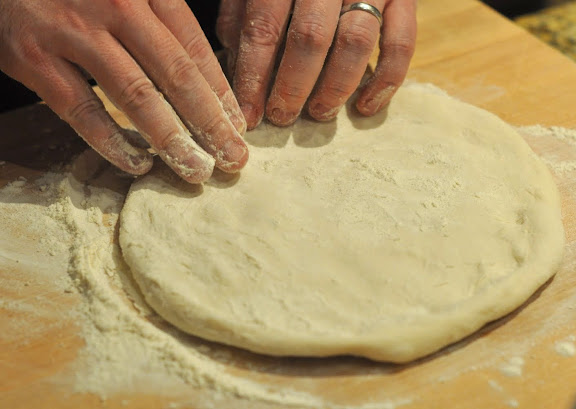
Working with 1 ball of dough at a time, dust the dough generously with flour, then flatten it out into a small round disk, leaving the outer edges slightly thicker than the center.
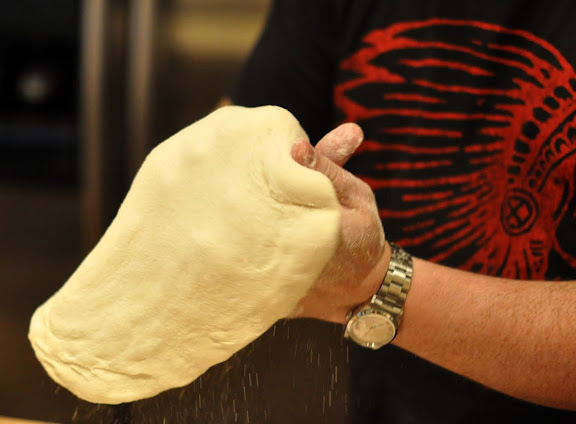
Use your hands to gently stretch the disk into a bigger disk, turning it slowly to stretch it out evenly.
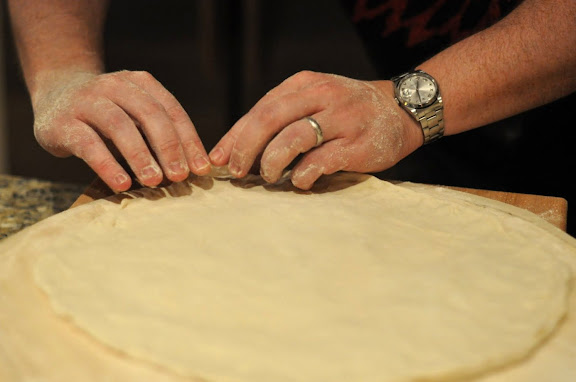
Place the stretched dough on a well-floured pizza peel and stretch it out a little more. The peel is what you use to transfer the uncooked pizza to the oven, so make sure the peel is well coated with flour, such that the dough will slide off easily.
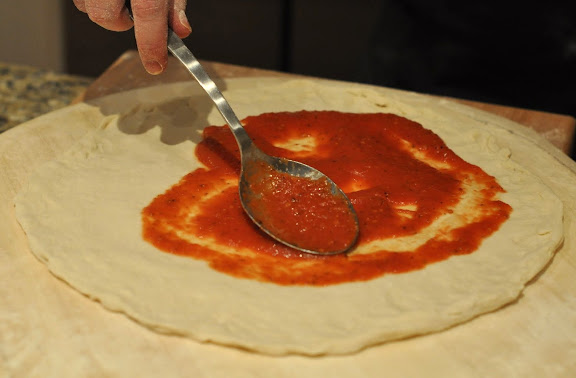
Spread a thin layer of sauce on the stretched dough, leaving about 1/4 inch of dough bare along the outer edges.
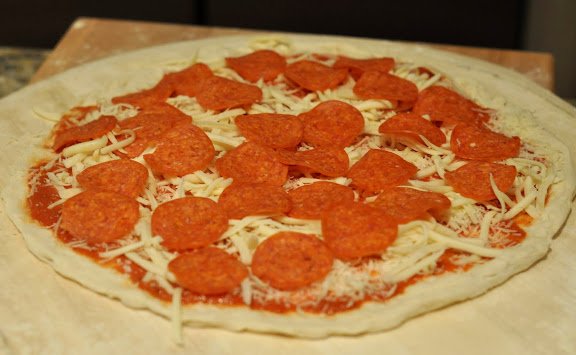
Sprinkle about 1/4 cup grated Parmesan cheese over the sauce, then add about a cup of grated mozzarella and top with whatever meat or veggies you are using.
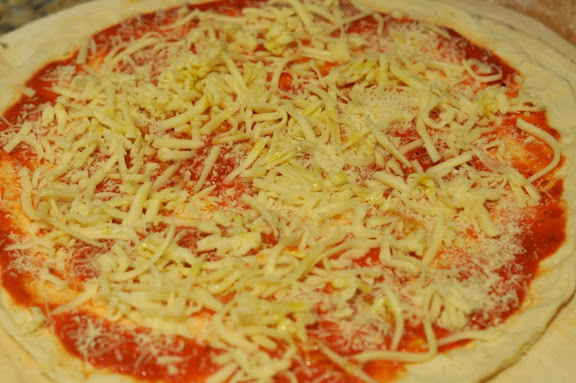
For the cheese pizza, we drizzled a little olive oil over the cheese before baking the pizza.
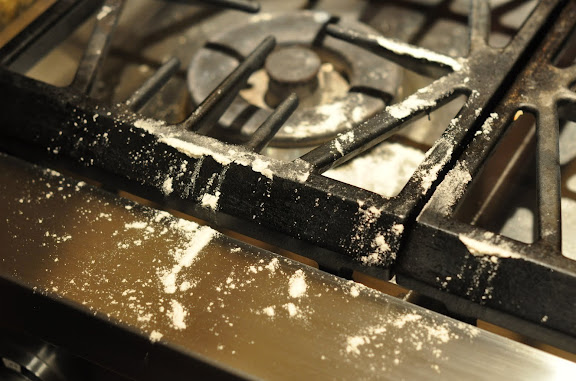
Homemade pizza involves a lot of flour, which somehow ends up all over our kitchen — even, inexplicably, on the stove top (which we were not using.)
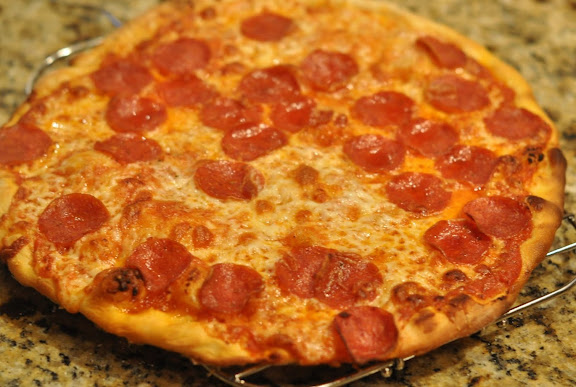
Place the pizza on the stone (or cookie sheet) in the oven preheated to 500 degrees and bake, rotating the pizza halfway through, until the crust is browned and the cheese is bubbly and beginning to brown — about 10-12 minutes. Cool the pizza on a wire rack for about 5 minutes before slicing and serving.
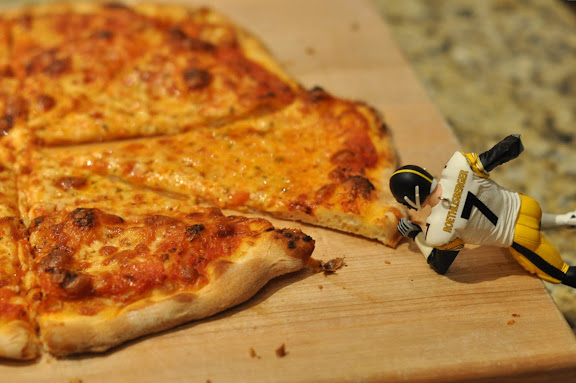
A couple of lessons learned for next time we make this pizza (and there will be a next time): use a little more sauce and bake the pizza a little longer for a more crispy crust. Otherwise, we wouldn’t change a thing. We love this pizza, almost as much as we ♥ NY.