
Who doesn’t love Canada, our neighbor to the North, eh? After skiing a few times at Banff, we think that there are very few places on earth more beautiful than the Canadian Rockies. Canadians are, as a rule, truly nice people, and Canada has given us such gifts as the band Rush, Michael J. Fox, Tim Hortons coffee and doughnuts, hockey and Niagara Falls — just to name a few. So when we found out that this month’s Charcutepalooza challenge was going to be hot-smoked Canadian bacon, we were understandably excited. Thanks as always to Mrs. Wheelbarrow and The Yummy Mummy, the organizers of Charcutepalooza, for the inspiration (and excuse justification for procuring a new cooking toy.)

Canadian bacon is a pork loin that has been cured for a few days and then smoked. I had been meaning to upgrade to a charcoal-fueled smoker for a while now, and I figured this Charcutepalooza challenge provided the perfect opportunity to explain to Kelly that we really do need a second grilling apparatus. The beauty of this smoker is that you can also use it as a (small) old-school charcoal grill, without the smoke. An old friend of mine from high school is a BBQ expert extraordinaire, and he provided some great, detailed recommendations for which smoker to buy. (Thanks Bryan!) Here I am unpacking our new smoker, which arrived in only two days from our good friends at amazon.com. New grilling equipment makes me very, very happy.
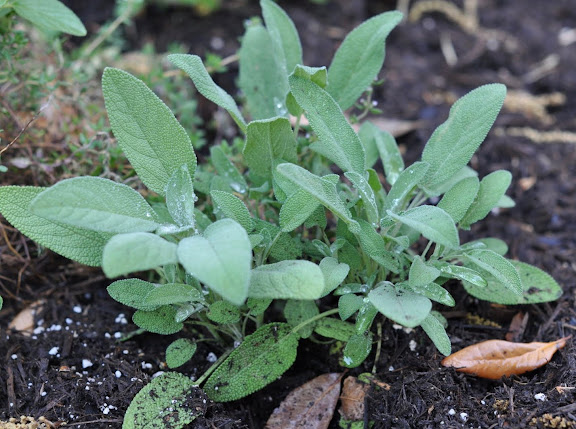
One of the ingredients is fresh sage, and we happened to have some in our garden.
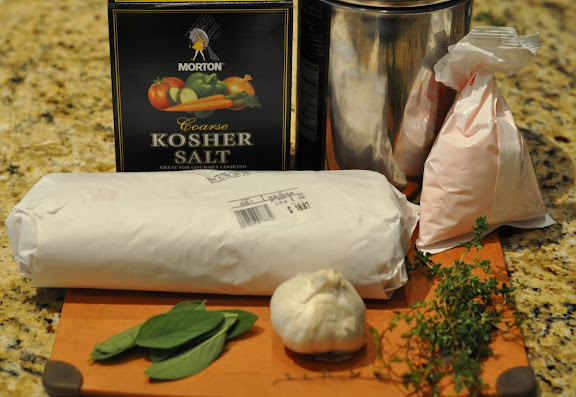
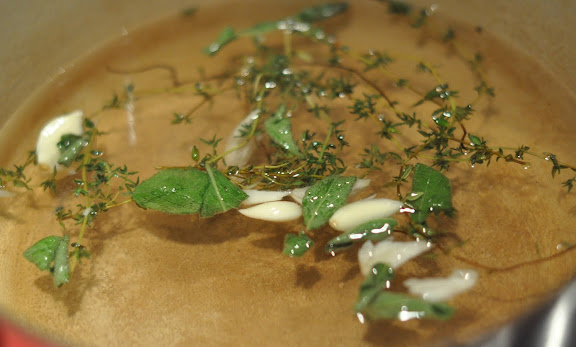
The Canandian bacon first cures in a brine with pink salt, which contains the curing agent sodium nitrate. The brine ingredients include a pork loin, Kosher salt, sugar, pink salt, thyme (also from our garden), garlic, and sage leaves. The actual recipe we used is from Ruhlman and Polcyn’s book Charcuterie, which has served as the guidepost for all of this Charcutepalooza fun.
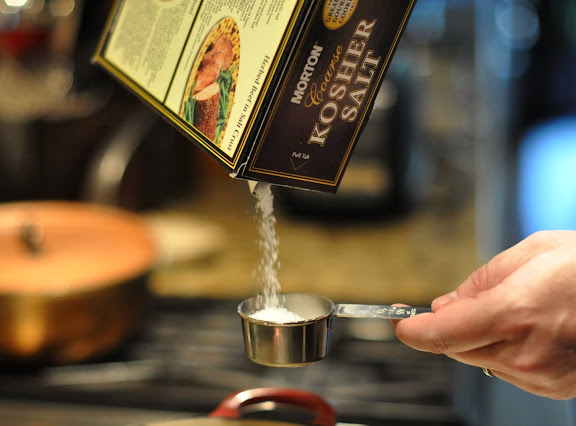
First, add the Kosher salt to the herbs and heating water. This is one of the few times where I actually measure. Ratios are important in this type of cooking.
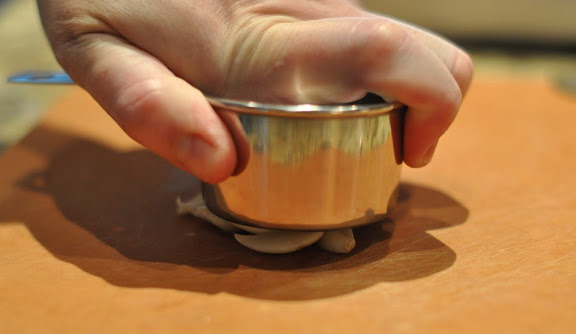
We thought up a new method for crushing garlic for this recipe, using the back of the measuring cup we used to measure the salt. It proved to be a very acceptable smasher of garlic, which we added to the brine.
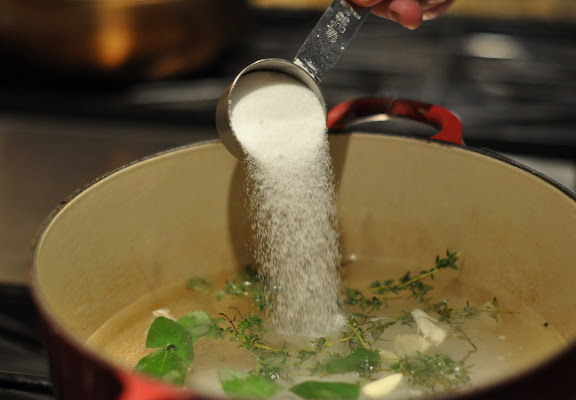
Next, add some sugar to sweeten up the Canadian bacon.

And finally, add some pink salt. This is from the same batch of pink salt we used for making bacon and corned beef.
Bring all the brine ingredients to a boil, to allow the salts and the sugar to dissolve. After the water boils, you need to cool the water before adding the pork, otherwise the pork will start cooking. But be careful not to add too much ice, or you’ll change the original ratio. If you have time, just put the pot in the fridge for an hour or so until the brine is cool.
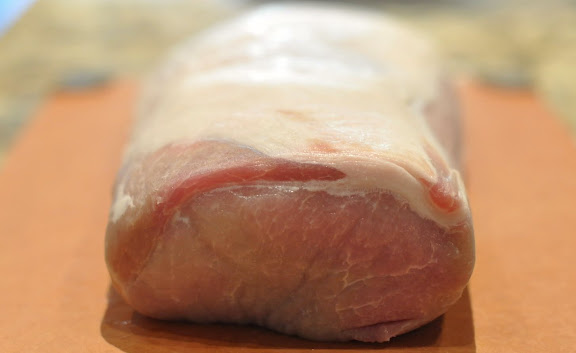
We made our Canadian bacon with a pork loin. The difference between this loin and the pork tenderloin you typically see at the grocery store is location on the pig. The loin is located on the top of the ribcage and runs along the back, while the tenderloin lies along the central spine against the inside of the ribs. The tenderloin is slightly more tender (hence the name) and the loin is more lean. Brining the loin will make it more moist, and smoking it will add another dimension of flavor. Fun fact — according to Wikipedia, Canadian bacon is also referred to as “Back Bacon.” But we’re guessing that your waiter or waitress will give you a funny look if you try to order a side of Back Bacon at your local Waffle House.
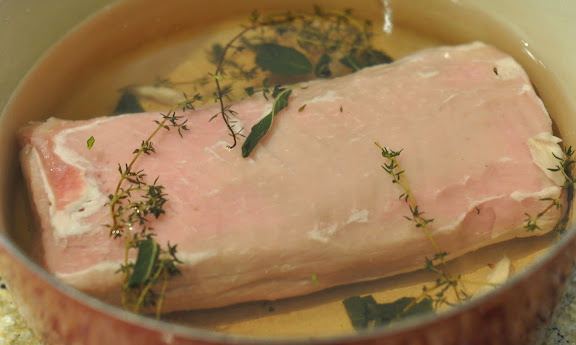
After trimming the pork of fat, add it to the brine and put the pot in the fridge for three days.
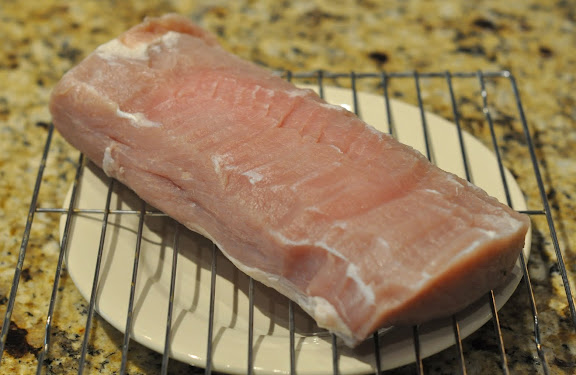
After three days, remove the pork from the brine and discard the brine. Rinse the pork in cold water well, to remove any excess salt. Then pat the pork dry, place it on a rack over a plate and return it to the refrigerator for another half to full day. This step will help dry out the pork, and apparently allows the smoke to better penetrate. I’m a novice smoker, so I can’t verify that this is actually true, but I figure those who literally wrote the book on charcuterie know what they are talking about.
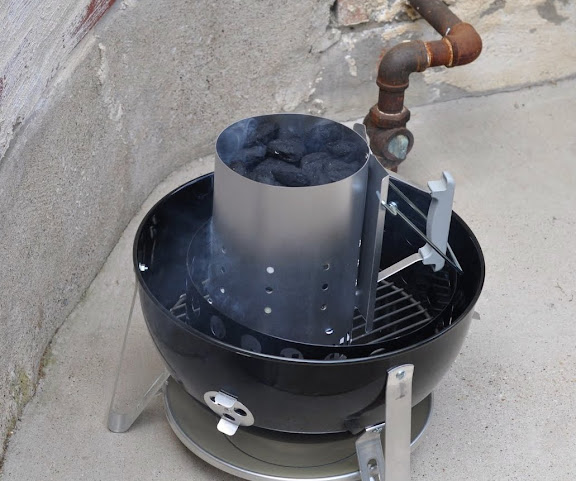
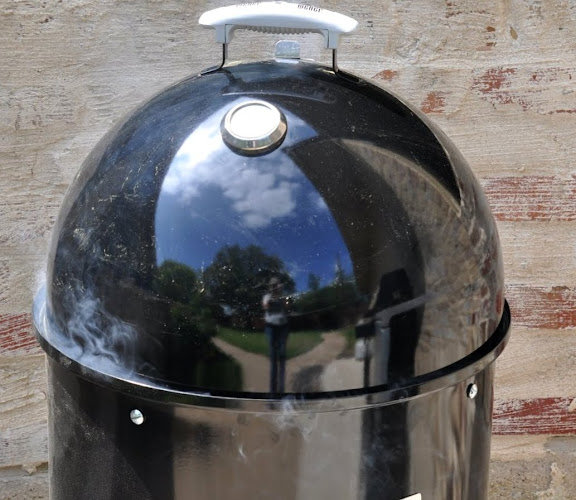
Our new smoker uses charcoal rather than electric power. I used a chimney-style charcoal starter to light the charcoal, which took about 15-20 minutes. The benefit of this charcoal starter is that you don’t need to use lighter fluid, which can add a chemical smell to the charcoal. That would be bad.
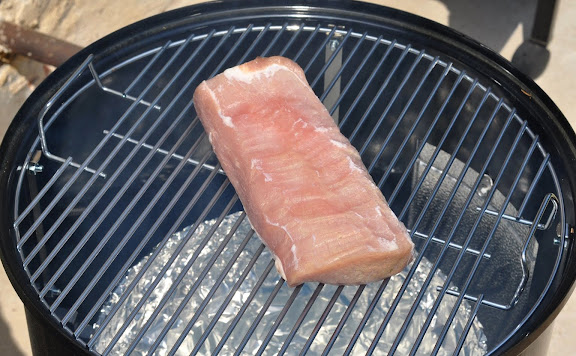
The hot charcoal is at the bottom of the smoker, with some additional charcoal placed on top. This allows the smoker to keep the heat going for a long time — ours remained hot for several hours. We used big chunks of applewood to smoke, placed directly on top of the lit charcoal. My friend Bryan made it clear that you should not soak the smoker wood in water before you smoke, because that creates creosote, which does not taste very good at all and numbs the tongue. Bryan has been BBQing competitively for some time now, and this guy really knows his stuff.
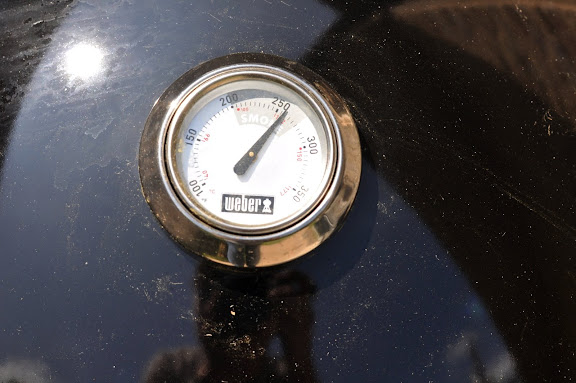
Our goal was to smoke the Canadian bacon at approximately 250 degrees. Using the various vents on the smoker, you can control the heat, with more airflow creating a hotter, faster-burning fire. This will take some practice, but I expect to have this BBQ method down in only ten or so years.
Smokin’
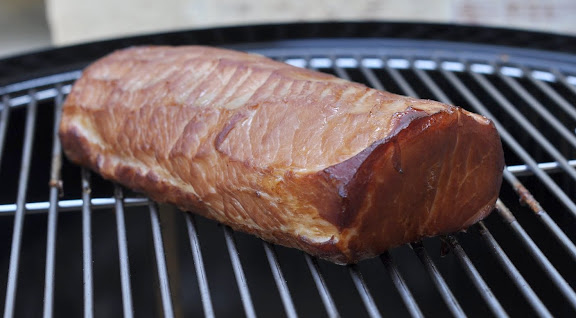
After three hours, the internal temperature of the pork loin had reached 150 degrees, and the meat took on a nice, smokey red hue. Because the coals were still hot, we decided to keep them going and use the charcoal grill for our dinner. So I removed the applewood, added a little more charcoal and grilled a game hen. Love that charcoal grill flavor!
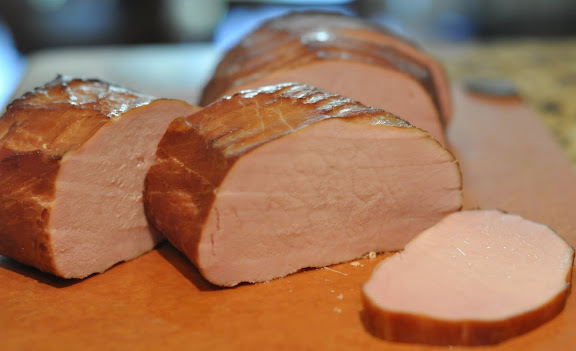
We made enough Canadian bacon to freeze several portions for later use. To prospective overnight guests: there could be some eggs benedict in your future, if you play your cards right.

We wanted to do something a little different with our first portion of bacon, so we decided to make fried rice with it, using this recipe.

The fried rice took only about 20 minutes to prepare and was excellent, and the Canadian bacon added just the right sweet/smoky flavor. We look forward to thawing another portion to use for a couple of indulgent breakfasts this weekend!
That rice looks pretty yummy – wish I had a hot bowlful right now.