We made bread for the very first time last weekend. One of our favorite food writers/bloggers, Michael Ruhlman, declared that January should be bread making month, and we were inspired. We decided to try this recipe for ciabatta bread because it seemed like a relatively easy introduction to homemade bread, and it really was. Despite our uncertainty along the way that we were doing it right, our Ciabatta bread actually turned out great. We bake now!
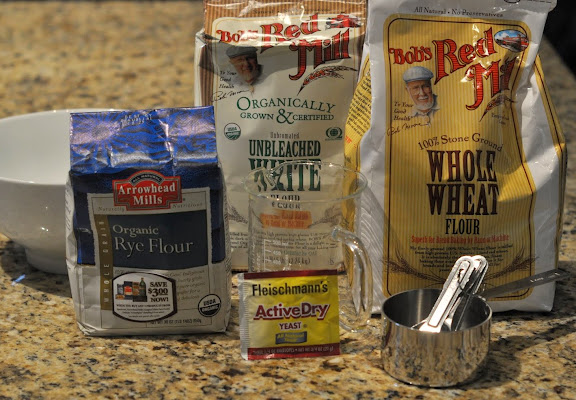
The ingredients include unbleached white all-purpose flour, rye flour, wheat flour, yeast, salt and water. The recipe called for cracked rye and wheat berries, but we couldn’t find them at our grocery store. So, at the direction of the recipe, we used rye flour and wheat flour instead.
Baking requires measuring, which Dan doesn’t often do. But I think he appreciates the science of it, when it comes to creating a loaf of bread out of flour, water and yeast. (He is an IP lawyer and physics major, after all). Plus he wanted our first bread-baking experiment to be successful.
This recipe calls for a “starter dough” that rests for 12 to 24 hours prior to being incorporated into the other dough ingredients to become bread. We’re not sure why/how this works — maybe something for Dan the Science Man to figure out in his spare time…
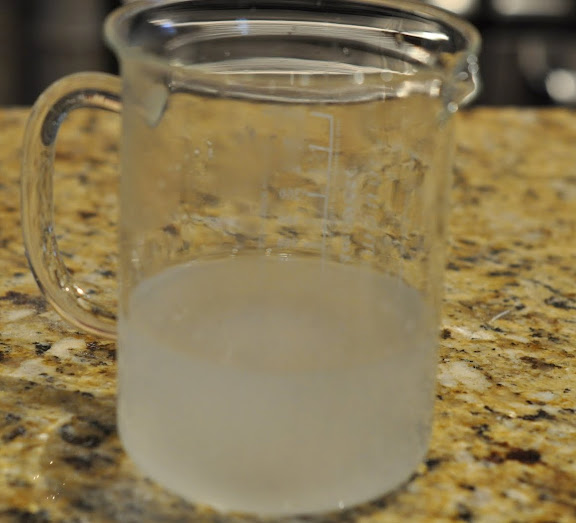
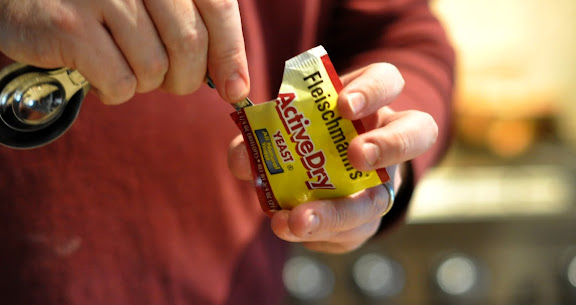
To make the starter dough, dissolve 1/4 teaspoon active dry yeast in 1 cup of warm water, then set it aside. Keep the little packet of yeast — you’ll use more of it later in the bread-making process.
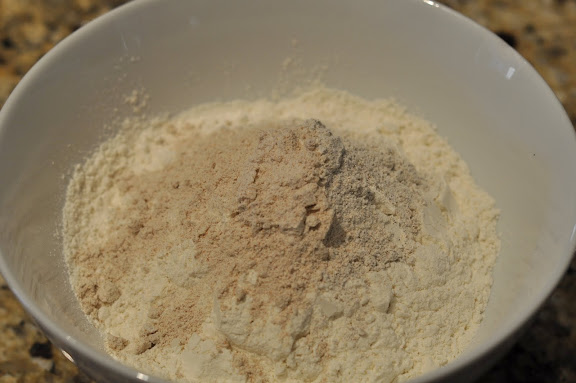
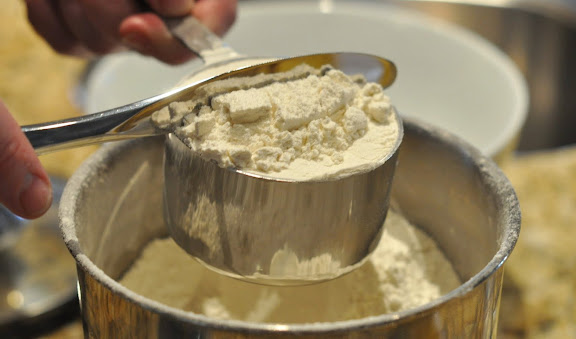
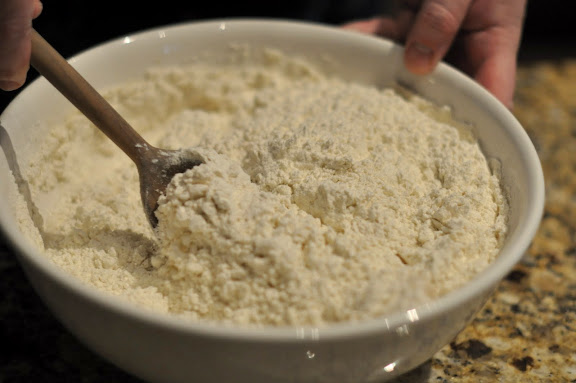
Next, combine 3 cups unbleached all-purpose flour, 1 tablespoon wheat flour and 1 tablespoon rye flour in a large bowl.
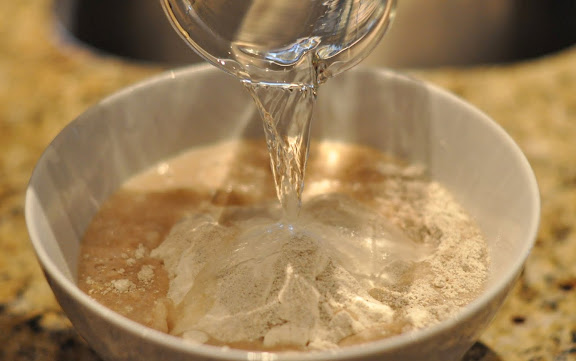
Add 1 cup tepid water.
Combine the water and flours.
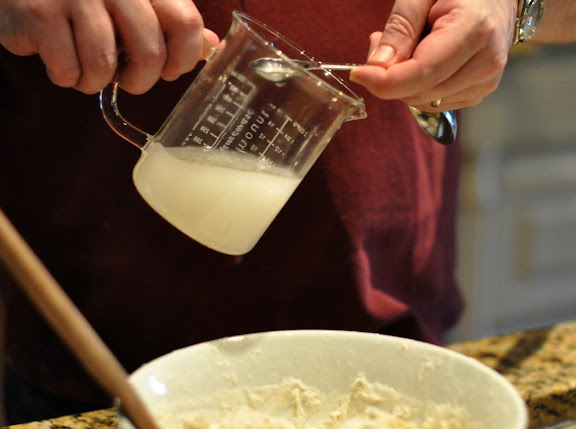
Then add 1 teaspoon of the yeasted water, and discard the remaining yeasted water. Again, we’re not sure why the measurements work out such that you only use a teaspoon from the cup full of yeasted water, but I’m pretty sure it has something to do with science and probably math, with ratios and such. The bread-making process is rather mysterious. At least to me anyway.
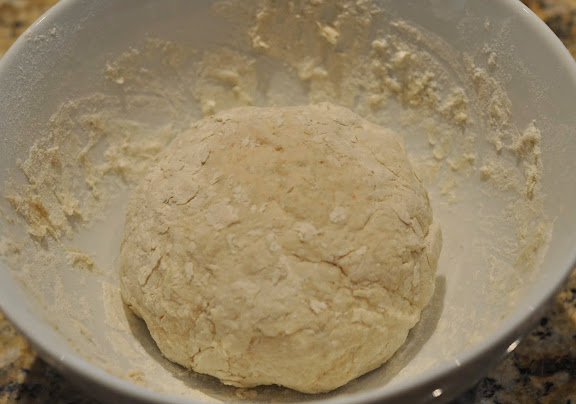
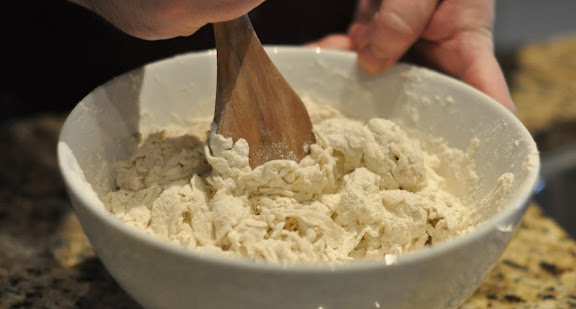
After adding the yeasted water, mix the starter dough into a firm ball, kneading it a little bit while mixing.
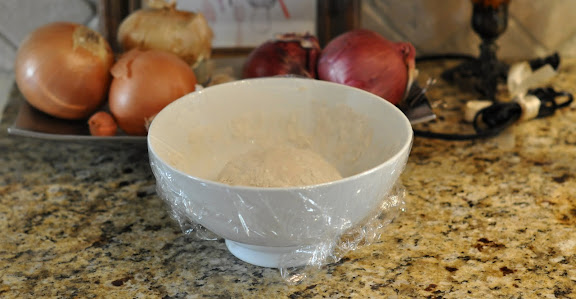
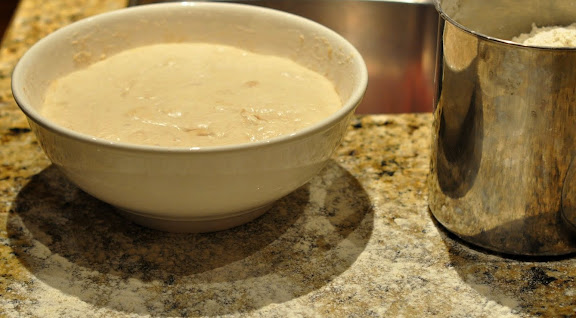
Place the starter dough back in the bowl, cover the bowl with plastic wrap and let it rest at room temperature for 12 to 24 hours. I expected the dough to rise a bit during this process, but it didn’t. (Dan tells me that it did rise a little bit, but I am not sure I believe him.) I think it pretty much looked the same after 24 hours as it did when we started.
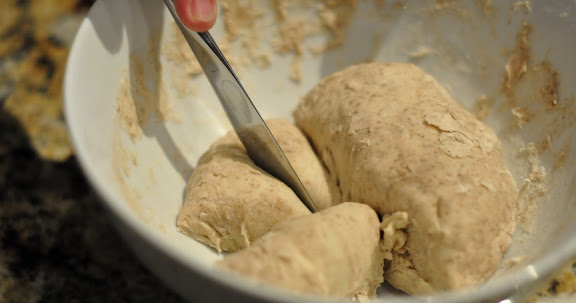
Cut the starter dough into 6-8 pieces.
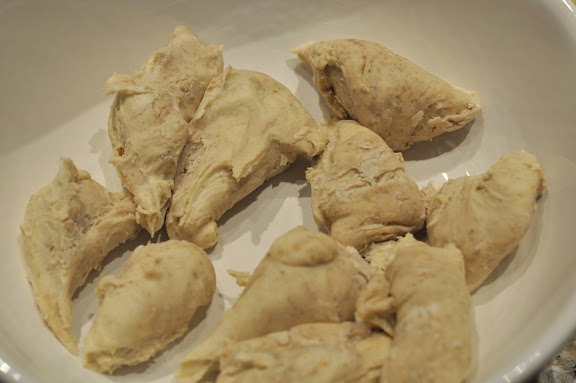
Put the pieces into a bowl large enough to accommodate the starter dough plus 2 cups of water and 3 1/4 more cups of flour.
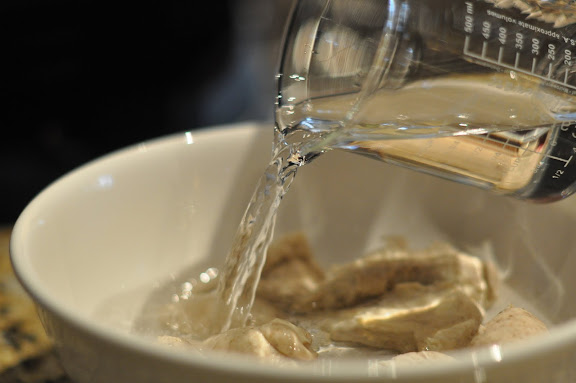
Add 2 cups of warm water and let the mixture sit for a couple of minutes to soften.
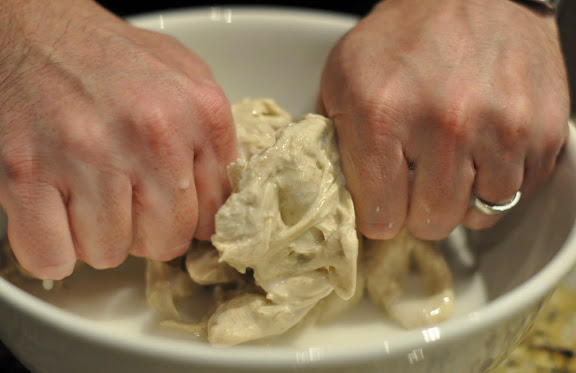
Use your hands to break up the dough.
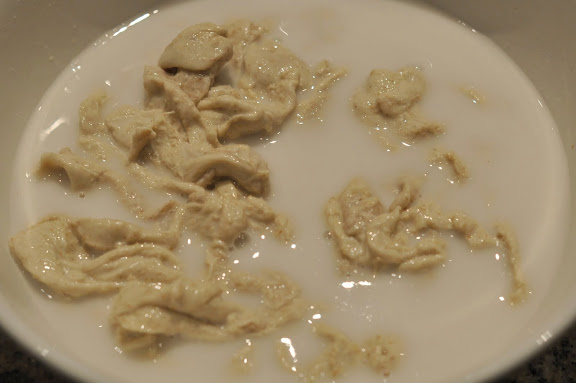
Here’s where we felt some uncertainty (among other times) – were we breaking it up too much? Not enough? We still don’t really know.

Add 3 1/4 cups unbleached white all-purpose flour to the bowl.
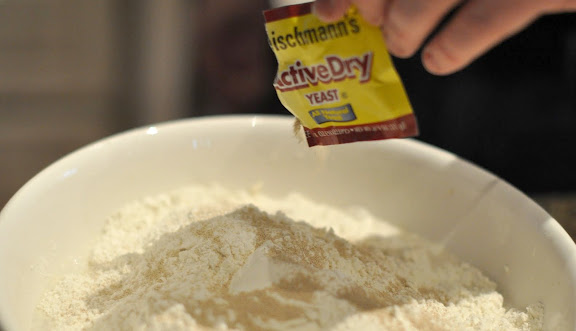
Then add 1 teaspoon active dry yeast. (Note that Dan actually measured out the teaspoon of yeast, but I didn’t get a good photo, so this is a posed shot. Say “yeast!”)
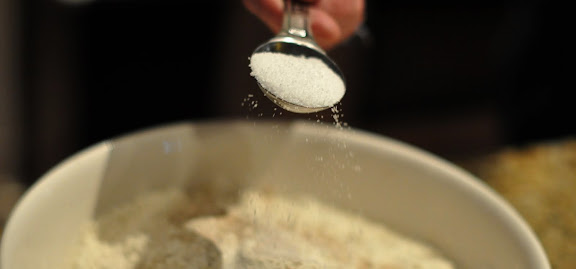
Next add 1 tablespoon of salt.
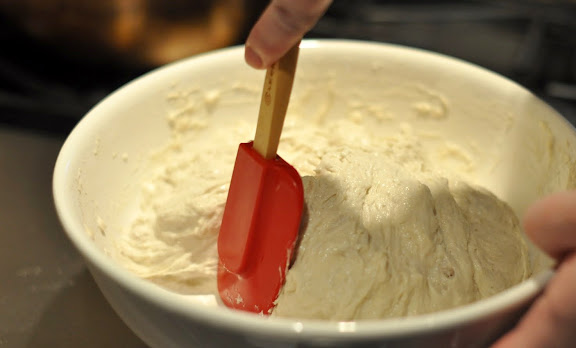
Use a wooden spoon to beat the mixture together well.
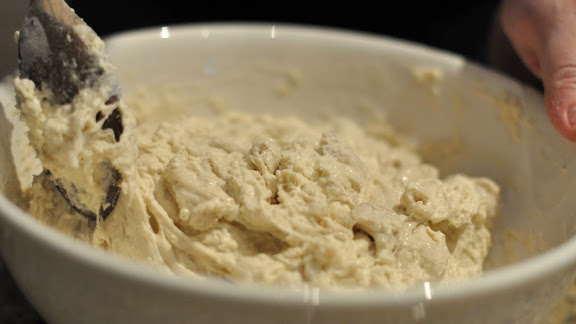
The recipe states that the dough will resemble stiff pancake batter and not to worry about fully incorporating all the starter dough. This was a helpful tip because we really didn’t know what the dough should look like at this stage, and we might still be trying to fully mix in the starter dough otherwise.
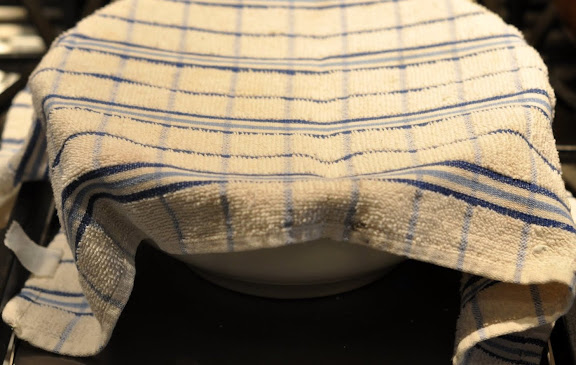
Cover the dough lightly (we used a kitchen towel draped over the bowl) and let it sit in a warm spot for an hour. During this hour, you’ll be pulling the dough away from the sides of the bowl every 20 minutes or so, which might be a form of kneading particular to Ciabatta bread — who knows. We’re just following the recipe.
Every 20 minutes, use a spatula to pull the dough away from the sides of the bowl and toward the center.
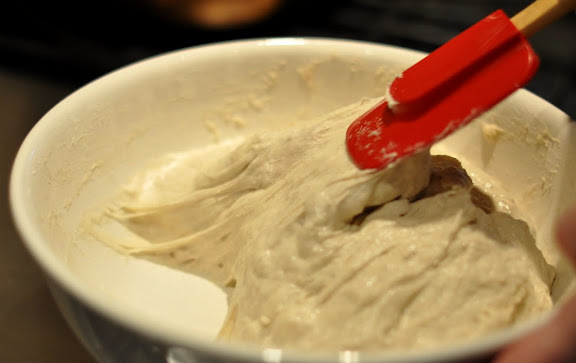
See how the spatula pulls the dough away. Do this all around the bowl, every 20 minutes for an hour. While standing on one foot and making the “thumbs up” sign with your other hand. Just kidding, although we probably would have done that if it was written in the recipe, this being our first time making bread and all.
After an hour and twenty minutes of scraping, let the covered bread rest for another hour and a half to continue to rise.
Next, scrape the dough out onto a well-floured surface to divide it into loaves.
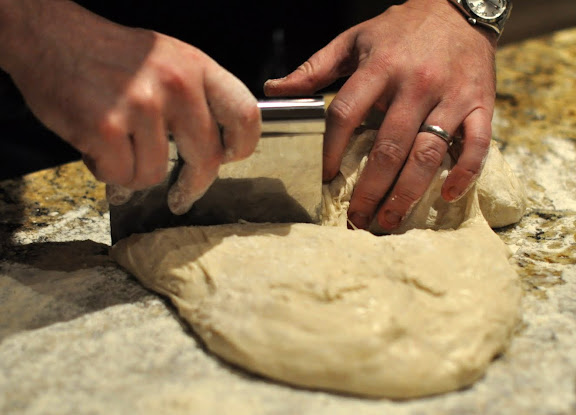
Divide the dough into 2 equal parts and separate them.
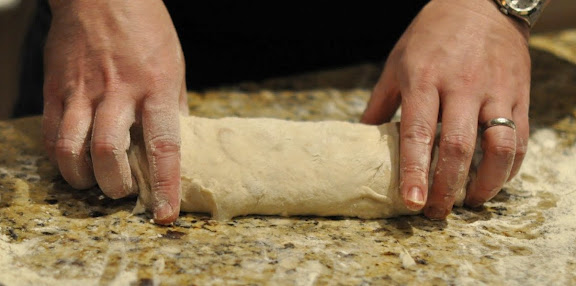
Gently shape each half into a loaf form.
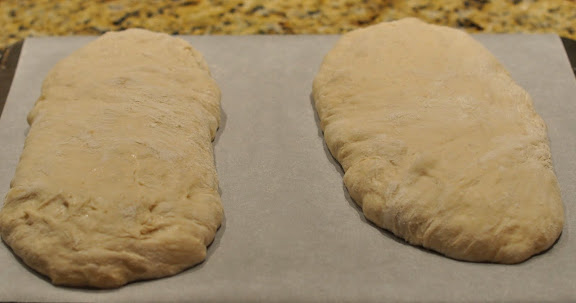
Then place each loaf on a piece of parchment paper sitting on the underside of a cookie sheet to rise for another 30 to 45 minutes. Another point of uncertainty — we didn’t really notice the bread rise much during this final stage. I thought for sure we were about to bake up some really big ciabatta crackers.
Prepare the oven by preheating it to 450 degrees and placing your cooking surface (we used our pizza stones) on the middle rack. Also place a baking pan half full of water on the bottom of the oven.
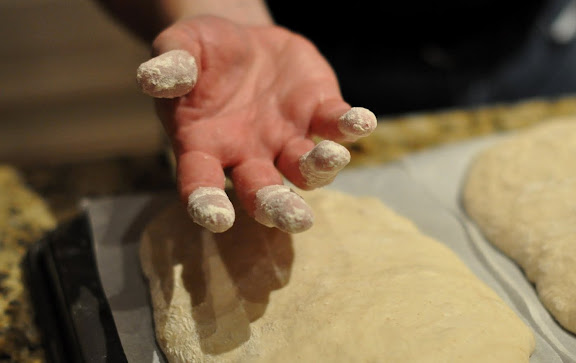
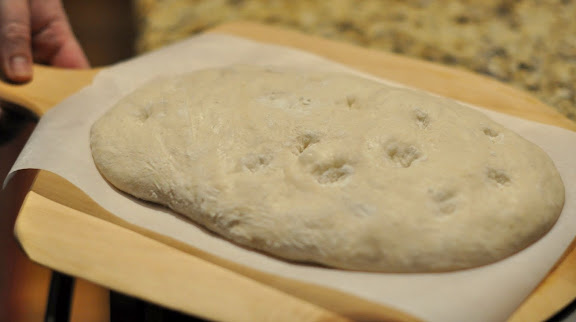
Just before placing the loaves in the oven, lightly flour the tips of your fingers to “dock” each loaf and deflate some of the air bubbles in the dough. Again, just following the recipe.
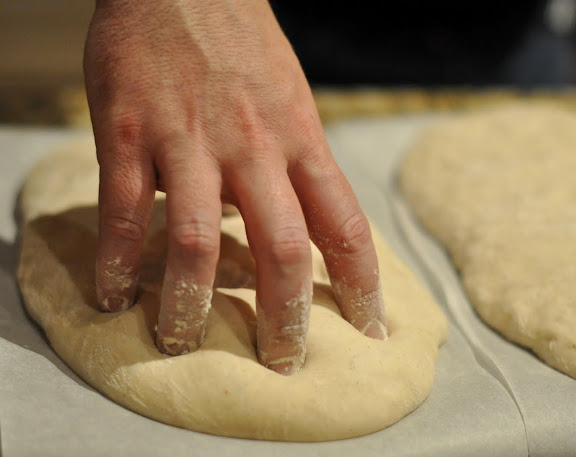
Docking the loaf.
Dan used his pizza thingy called a “peel” to transfer the loaves into the oven. If you don’t have one, the back of a baking pan would work fine too.
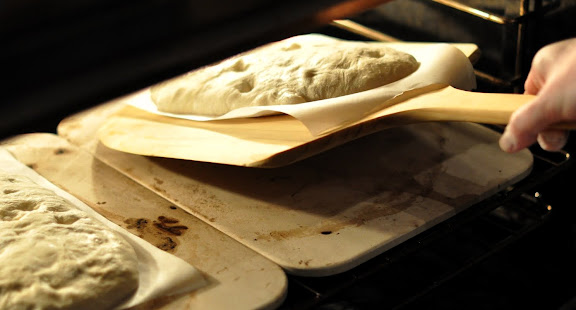
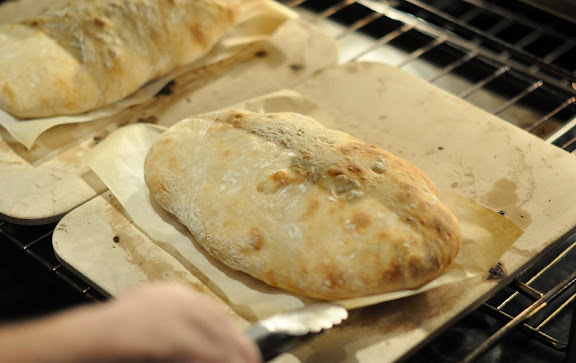
He just slid the parchment paper right onto the pizza stones, which had been preheating in the oven for about 45 minutes.
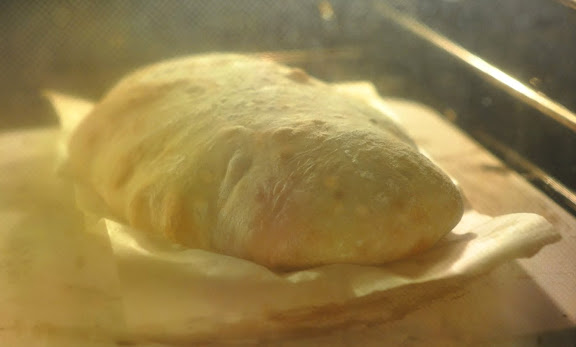
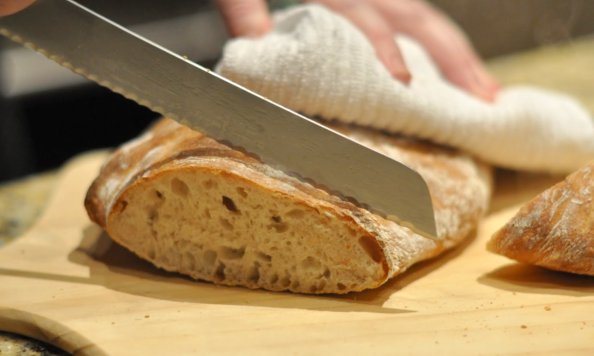
Bake the loaves for about 25 minutes, until they are dark golden brown and their internal temperature is 200 degrees. (I think we can all agree that our oven door needs a bit of Windex, yes?)
Halfway through the baking process, Dan turned each loaf 180 degrees (using tongs to slide the parchment paper around) so that they would brown evenly.
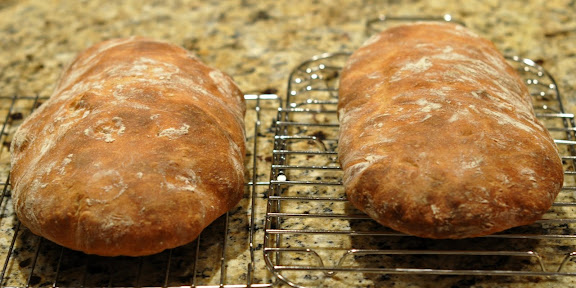
Tah-dah! Pretty good for our first try. The bread tastes great too. Success!

Our ciabatta experiment is proof positive that anyone can make bread, and should! We didn’t know what we were doing, but we forged ahead, followed the recipe and ended up with 2 delicious loaves of bread. So don’t be intimidated to try something new, even if you don’t fully understand how it all works.
(Although, I will say that there were a couple of times I could have sworn some of the recipe steps were made up, just to mess with us. Sort of like when your parents tell you that raising your arms over your head if you’re coughing/choking from swallowing wrong will help clear your airway…..Or maybe that was just my parents.)
Awesome bread and truly awesome post. I laughed out loud. Really. If I’d been drinking anything, it would have come out my nose. Great project for a cold, snowy weekend.
Thanks Paula — awesome compliment!
OH my, that bread looks good. With some butter slathered on and served with a bowl of your green chillie chowder, perhaps?
Definitely would be good with chowder. We’re going to use it tonight for cuban sandwiches with leftover grilled pork tenderloin…
Awesome. I’ve been following Ruhlman’s bread adventuring, too. I think I might give it a shot. Almost did today. Chickened out. ;o)
Hi Persephone! You definitely should try making bread – degree of difficulty is nothing compared to your most recent risotto recipe, which looks amazing by the way.
Wow, nice work! The step by step instruction is spot on, couldn’t have said it better myself. 😉
Thanks Carri! If not for your recipe and guest post on Ruhlman’s site, we might never have tried making homemade bread. Thanks for the inspiration!
Beautiful bread! By the way, if you or any of your readers are ever coughing/choking be sure and raise your arms to clear your airway :-). It always works :-).